
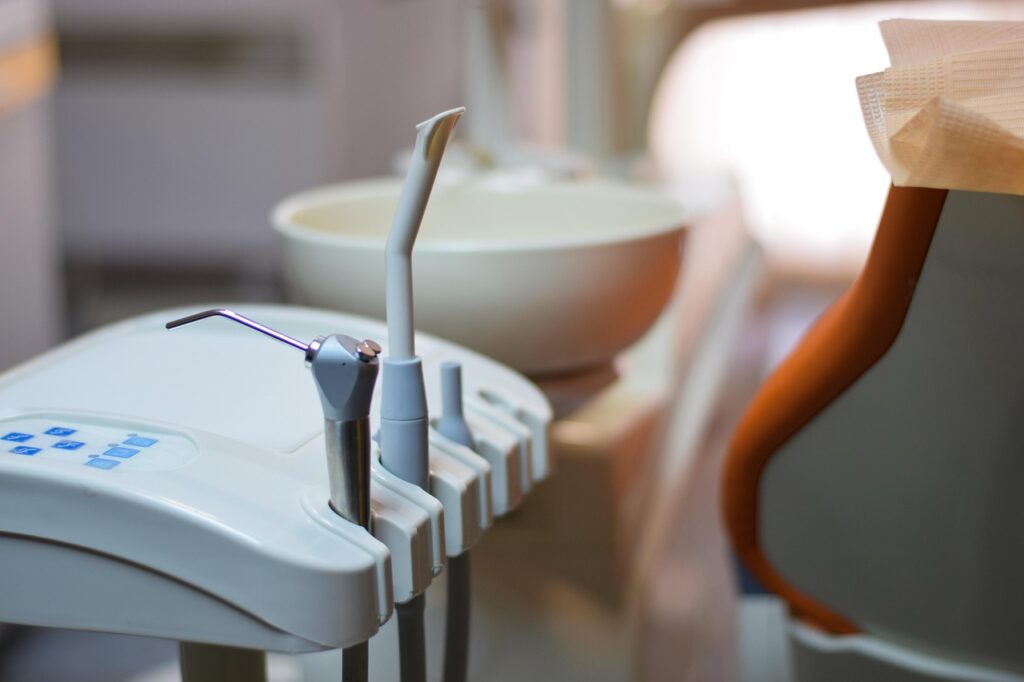
Disinfecting dental instruments is not just a small job in the back room. It is part of a repeatable safety process that starts at chairside and ends when a clean, sterile pack is stored in the right place for the next patient. If you are checking equipment, trays, or handpiece accessories, the Instruments section can help you choose products that fit a safer workflow.
In daily clinic work, people often use the word “disinfecting” in a loose way. For dental clinics, that can create problems. Many instruments need more than surface disinfection; they need cleaning, packaging, heat sterilization, monitoring, and proper storage. The CDC’s National Center for Health Statistics reported that 65.5% of U.S. adults had a dental exam or cleaning in 2023, and 86.9% of children ages 2 to 17 had a dental visit in 2019. That amount of patient contact shows why the instrument cycle has to work every day, not only on surgery days. (cdc.gov)
Why Does Disinfecting Dental Instruments Matter so Much?
Dental instruments touch saliva, blood, mucous membranes, restorations, and sometimes bone. A clear process protects patients, and it also protects assistants, hygienists, dentists, and the people moving trays through a busy sterilization room.
High Contact, Small Margins
A scaler, mirror, handpiece, or surgical bur can look clean after a rinse, but looking clean is not the same as being ready for patient care. Organic soil can stay in joints, grooves, knurled handles, and internal handpiece surfaces. If one step is rushed, the next load can be affected, especially when hygiene appointments are booked back to back.
Rare Transmission Still Needs Serious Control
The CDC states that transmission of infectious agents in dental settings is rare, but documented transmissions did occur from 2003 to 2015. The reported problems included unsafe injection practices, failure to heat sterilize dental handpieces between patients, and failure to monitor autoclaves through spore testing. The point is direct: even rare events still need routine controls. (cdc.gov)
Patient Trust Starts Before the Chair
Patients may never see the cleaning sink or autoclave log, but they do see sealed pouches, clean trays, and staff who are not rushing around. A steady reprocessing routine also helps avoid awkward moments, such as finding a torn pouch after the patient is already seated. These small details say a lot about how the clinic works.
Which Dental Instruments Need Sterilization vs Disinfection?
The best starting point is instrument classification. The CDC uses critical, semicritical, and noncritical categories for patient-care items. Each category needs a different level of reprocessing, and the difference is not just wording.
Critical Instruments Need Heat Sterilization
Critical items penetrate soft tissue or bone. Common examples include surgical instruments, periodontal scalers, extraction forceps, surgical burs, and bone chisels. These items carry the highest infection risk, so heat sterilization after each use is the normal route unless the item is single-use and discarded.
Semicritical Instruments Usually Need Heat
Semicritical items contact mucous membranes or non-intact skin. Mouth mirrors, amalgam condensers, and reusable impression trays are in this group. CDC guidance says most semicritical dental items are heat tolerant and should be heat sterilized. If a heat-sensitive item has no better option, high-level disinfection is the minimum acceptable route. (cdc.gov)
Noncritical Items Need Surface Care
Noncritical items contact intact skin only, such as a blood pressure cuff, facebow, or radiograph head. Cleaning may be enough when there is no visible soil. If soil is visible, the usual approach is cleaning followed by an EPA-registered hospital disinfectant. Disposable barriers can make the job easier on surfaces that are hard to wipe well.
What Is the Right Step-by-Step Workflow?
A safe workflow should feel routine, not complicated. The same steps need to happen every time, even when the schedule is running ten minutes late and someone is trying to find a missing cassette.
Point-of-Use Care Keeps Soil From Drying
The FDA describes reprocessing as starting at the point of use, where staff begin decontamination and take steps to keep blood, tissue, and debris from drying on the device. Once soil dries, it is harder to remove and can turn a basic cleaning job into scraping and guesswork. This first step is simple, but skipping it makes the rest of the process harder. (fda.gov)
Cleaning Comes Before Any Kill Step
Cleaning has to happen before disinfection or sterilization. The CDC notes that blood, saliva, and other debris can shield microorganisms and weaken the process. Ultrasonic cleaners and washer-disinfectors are often used because they make cleaning more consistent and lower worker contact with contaminated sharps.
Packaging and Loading Keep Items Ready
After cleaning, instruments should be dried, checked, packaged, and loaded according to the sterilizer and pouch instructions. Do not treat this as a packing task only, because poor drying or crowded loading can lead to failed packs. A practical tray flow often looks like this:
- Chairside pre-cleaning and safe transport in a covered container.
- Cleaning with ultrasonic or washer-disinfector equipment where suitable.
- Drying and inspection under good light.
- Packaging with the correct internal and external indicators.
- Sterilizer loading that does not crowd pouches or block steam contact.
- Cooling, record checks, and storage in closed cabinets.
How Should You Monitor Sterilization Cycles?
Sterilization is not a “set it and forget it” task. Monitoring gives the clinic proof that the cycle reached the right conditions, and it helps staff decide what to do when something does not look right.
Mechanical Records Catch Early Problems
Mechanical monitoring means checking the sterilizer display, gauges, printouts, pressure, temperature, and exposure time. These records can show problems before they become bigger issues. A strange temperature reading is not just paperwork; it may be the first warning that the load should not be released.
Chemical Indicators Go Inside Every Package
CDC guidance says a chemical indicator should be used inside every package to show that the sterilizing agent reached the instruments. If the internal indicator cannot be seen from outside, an external indicator should also be used. When the color change is wrong, the pack should not be used for patient care. See also: Implants.
Weekly Spore Tests Confirm the Process
Biological indicators, also called spore tests, are widely accepted because they directly assess whether the sterilization process kills resistant microorganisms. The CDC states that a spore test should be used at least weekly to monitor sterilizers. There is no reliable public source that gives one universal failure rate for every dental clinic and sterilizer model, so the practical answer is to monitor your own process and keep records. (cdc.gov)
What Mistakes Make Disinfecting Dental Instruments Risky?
Most failures do not come from one big event. They usually start as small shortcuts that become “normal” over time. Clear rules help more than memory in a busy clinic.
Wiping Handpieces Is Not Enough
Dental handpieces, low-speed motors, and reusable prophylaxis angles should be heat sterilized between patients. Surface wiping is not enough because internal surfaces can become contaminated during use. Patients may not ask about this detail, but inspectors and trained staff will notice it quickly.
Missing Manufacturer Instructions Creates Guesswork
The FDA’s 2015 guidance explains that reusable medical device reprocessing instructions should be scientifically validated by manufacturers. For a clinic, the practical point is simple: keep current instructions for use near the reprocessing area. If a reusable device has no usable reprocessing instructions, it may not be suitable for multi-patient use. (fda.gov)
Poor Storage Can Undo Good Work
A correct cycle can still be ruined by a wet, torn, punctured, or crushed pouch. Wrapped sterile instruments should be stored in covered or closed cabinets. Before opening a pack, staff should check the package. If the packaging is compromised, the contents should be cleaned, packaged, and heat sterilized again.
How Can You Build a Practical Clinic Routine?
A workable routine has to fit real clinic traffic. It should be clear enough for a new assistant to follow, and strict enough for a busy Friday afternoon when the sterilization room is full.
Clear Zoning Reduces Dirty-Clean Crossover
Separate dirty receiving, cleaning, packaging, sterilization, cooling, and storage areas as much as your room allows. Even a small clinic can use one-way movement, labeled bins, color-coded gloves, and clear bench space. Clean pouches should not sit beside contaminated cassettes, even for a short time.
Trained Staff Need Simple Checklists
OSHA’s Bloodborne Pathogens Standard requires appropriate PPE when occupational exposure can occur, including gloves and eye or face protection when splashes or droplets are reasonably expected. For instrument rooms, this means heavy-duty utility gloves, masks, protective eyewear or face shields, and gowns where splash risk exists. A short checklist near the sink or sterilizer is often more useful than a thick manual that nobody opens during the shift. (osha.gov)
Purchasing Decisions Should Match Workflow
Good instruments should support the process instead of making it harder. Choose heat-tolerant reusable instruments where possible, avoid hard-to-clean shapes unless they are clinically needed, and buy enough handpieces to allow full sterilization between patients without rushing. Cheap instruments that pit, rust, or trap debris do not stay cheap for long.
FAQ
Q1: Is Disinfecting Dental Instruments the Same as Sterilizing Them? A: No. Disinfection reduces many pathogens, but sterilization is a higher-level process that destroys all forms of microbial life, including spores. Critical dental instruments need sterilization.
Q2: Can Alcohol Wipes Replace an Autoclave for Dental Handpieces? A: No. Handpieces and related attachments should be heat sterilized between patients when they are reusable and heat tolerant. Wiping the outside does not address internal contamination.
Q3: How Often Should a Dental Clinic Run Spore Tests? A: CDC guidance says at least weekly for sterilizers. Some clinics test more often based on local rules, risk policy, or the type of procedures performed.
Q4: What Should You Do With a Torn Sterile Pouch? A: Do not use the instruments. A torn, wet, punctured, or otherwise compromised package should be reprocessed before patient care.
Q5: What Is the Best First Improvement for a Small Clinic? A: Start with a written workflow, current manufacturer instructions, correct PPE, and load records. Then check whether you have enough instrument sets and handpieces to avoid rushing cycles.