
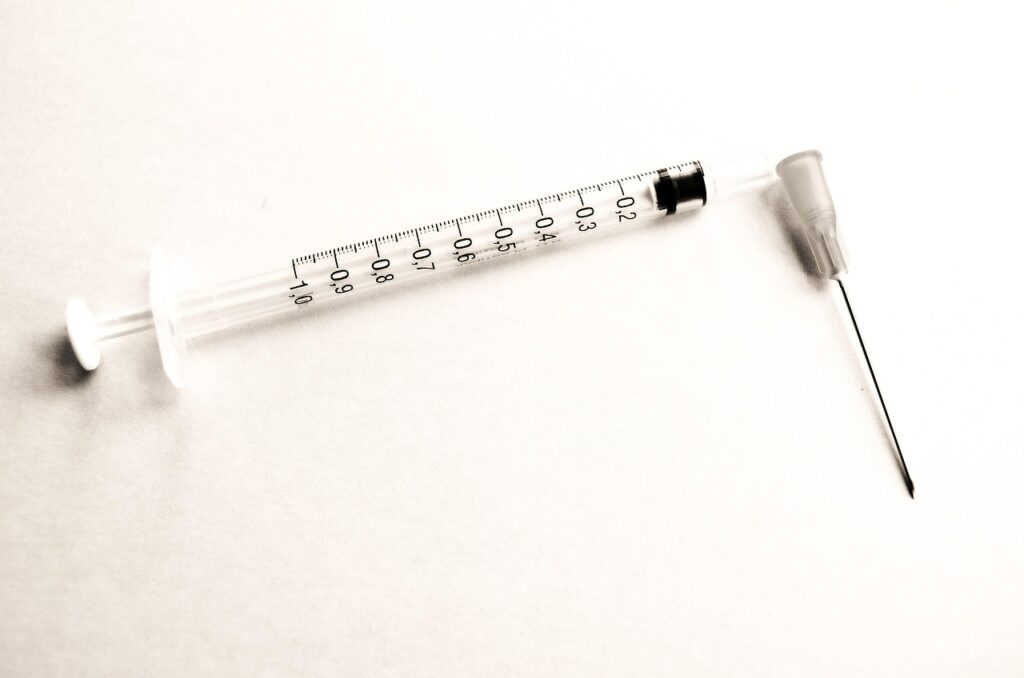
Why Does Sharp Instruments Sterilization Matter So Much?
Sharp instruments sterilization is part of daily safety work, not a side job in the back room. It protects patients, staff, and the service life of surgical tools that cut, dissect, puncture, or scrape with clean function. If your team handles scalpels, scissors, osteotomes, curettes, dental scalers, or similar Instruments, the process needs to be understood before any tray reaches the sterile field.
Public guidance gives the base for this work. The Centers for Disease Control and Prevention, in its 2008 guideline updated in June 2024, says critical medical and surgical devices that enter sterile tissue or the vascular system should be sterile before use. The same CDC guidance says steam is the preferred method for critical instruments that can tolerate heat, steam, pressure, and moisture. In daily practice, that means every clamp tip, hinge, jaw, serration, and cutting edge has to be treated as important.
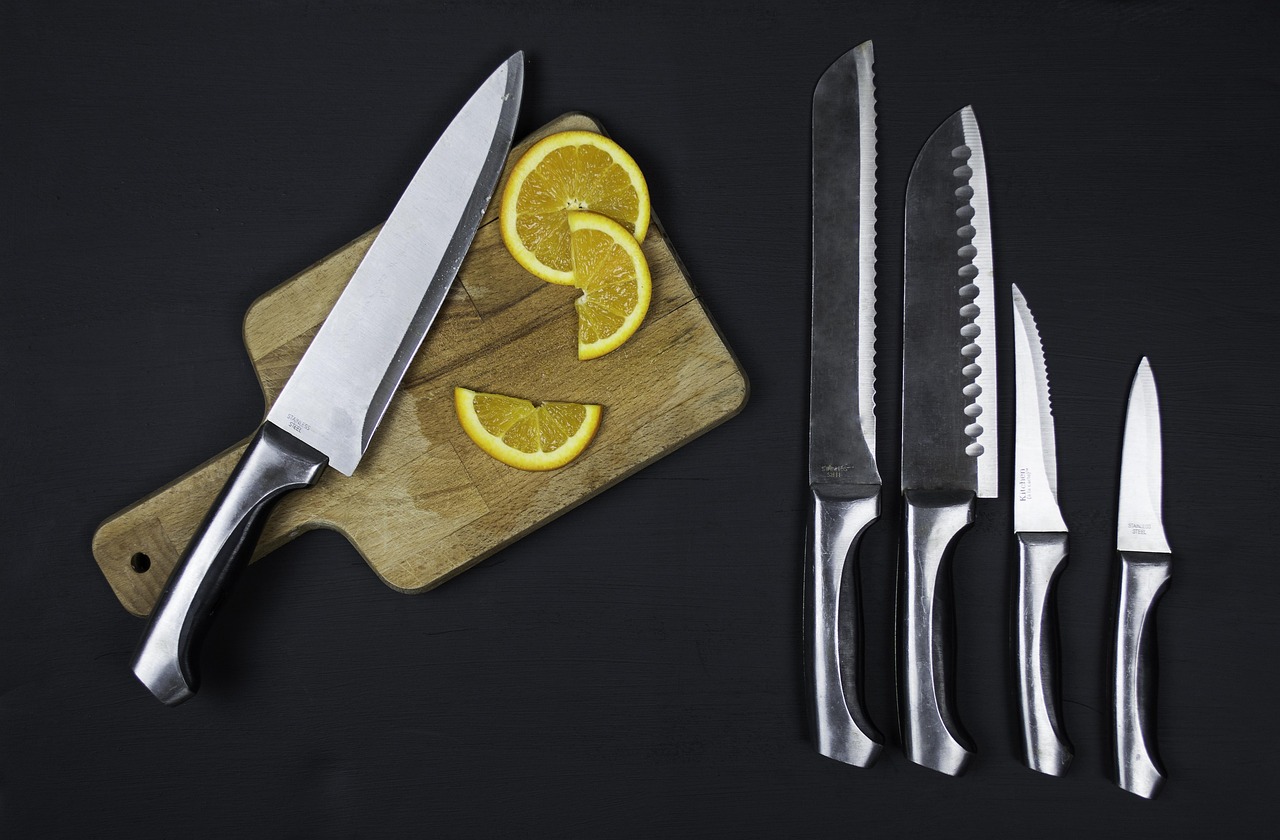
Critical Items Carry the Highest Risk
Sharp devices often fit the definition of critical items because they may touch blood, bone, mucosa, or sterile tissue. A scalpel handle used with a sterile blade, a bone chisel, or a periodontal scaler can carry microorganisms straight into tissue if reprocessing fails. High-level disinfection is not enough when a device is classified as critical and can be sterilized.
Small Soil Can Block a Big Process
The CDC notes that dried or baked material is harder to remove and can make disinfection or sterilization less effective. Sharp instruments bring extra cleaning work because bioburden can stay in box locks, serrations, ratchets, and small grooves near the tip. A dull curette with dried tissue in a channel may look fine from a short distance, but close inspection can show a different problem.
Sterile Tools Support Infection Prevention
Surgical site infection has more than one cause, so one instrument policy cannot remove all risk. Even so, device decontamination is a regular part of infection prevention. The World Health Organization reported in 2016 that in low- and middle-income countries, about 11% of patients undergoing surgery were infected during the process. The WHO global guideline also brought together 29 recommendations for surgical site infection prevention, so the practical point is clear: sterile instruments are one basic layer in a wider safety system.
What Should Happen Before a Sharp Instrument Enters the Sterilizer?
Sterilization is not a reset button for dirty tools. The sterilizer can only do its job after soil is removed and the device is prepared as the manufacturer intended. With sharp instruments, the early steps often decide whether the final pack comes out safe, dry, and ready for use.
Point-of-Use Soil Control
Gross soil should be stopped from drying as soon as practical after use. Staff may wipe instruments during a case, keep hinged tools open when appropriate, and place used sharps in a safe container for transport. This step supports patient safety, and it also protects staff. Nobody wants a hidden blade tip pushing through a towel during a busy shift.
Validated Cleaning Instructions
The U.S. Food and Drug Administration says reusable device manufacturers should provide reprocessing instructions that users can follow and that are backed by validation. For a facility, that means the instrument’s instructions for use should guide brushing, soaking time, detergent type, water quality, washer-disinfector use, lubrication, and drying. If the instructions say a cannulated or hinged device needs manual brushing before automated washing, skipping that step is not a small shortcut. It can leave soil where the washer may not reach.
Careful Rinsing and Drying
Residue from detergent, hard water, or tissue can affect stainless steel surfaces and cause trouble in later steps. Rinsing should follow the device instructions and local policy. Drying also needs attention because water left in a hinge or lumen can lead to wet packs, corrosion, spotting, or steam cycle issues. A tray may look dry on the outside while one fine scissor joint is still holding moisture.
Which Sterilization Method Fits Sharp Instruments Best?
The right method depends on the device material, design, packaging, and manufacturer instructions. Sharp instruments are often made from stainless steel, but coatings, plastic parts, insulation, and fine cutting edges can change what the device can handle. Choose the method by the device, not by habit.
Steam for Heat-Stable Sharps
Steam sterilization is widely used because it works well, runs quickly, and is well established for heat- and moisture-resistant instruments. CDC guidance names steam as the preferred method for many critical surgical instruments that will not be damaged by the cycle conditions. For common metal scalpels, scissors, forceps, and retractors, steam is often the normal route, as long as the manufacturer agrees.
Low-Temperature Options for Sensitive Devices
Some sharp instruments include coatings, powered parts, insulation, optics, or heat-sensitive materials. These items may need a low-temperature process such as hydrogen peroxide sterilization or another validated method. In daily work, compatibility is the point to check. A device can look like a simple sharp tool but still have a design feature that limits steam exposure, so the instructions should be checked before the tray is built.
Single-Use Items Stay Single Use
Some sharp items are sold as single-use devices. Reprocessing them without proper regulatory clearance and validated methods can bring safety, legal, and performance problems. Cutting edges may become dull, coatings may break down, and small defects may be hard to see. If reliable instructions for reuse are not supplied, handle the item as disposable according to policy and applicable regulation.
How Can Packaging Protect Sharp Tips and Sterility?
Packaging is where small mistakes often turn into real problems. Sharp tips can puncture pouches, heavy instruments can press on lighter ones, and a crowded set can block sterilant contact or drying. Good packaging protects the sterile barrier and the working end of the instrument.
Tip Protection Without Steam Blocking
Tip protectors can help prevent punctures and staff injuries, but they must allow sterilant contact and proper drying. A tight, nonvalidated cover on a sharp tip can create a blocked area where steam or low-temperature sterilant may not reach well. Use protectors made for sterilization. Avoid homemade fixes that may seem useful at first but fail during handling.
Open Hinges and Accessible Surfaces
Hinged instruments should usually be prepared so the sterilant can reach the surfaces, following the manufacturer’s instructions. Box locks, ratchets, and jaws should not be pressed closed in a way that traps soil or blocks contact. With scissors and clamps, even a small gap can decide whether the surface is clean or a problem stays hidden.
Correct Load Weight and Placement
Heavy sets need correct placement so steam can move, air can be removed, and condensate can drain. Overloaded trays slow drying and increase the chance of wet packs. Sharp instruments also need steady positioning during handling. If a towel clamp or osteotome shifts during transport and pierces a wrapper, the package may no longer be treated as sterile.
What Monitoring Proves the Process Worked?
Sterilization monitoring gives evidence that the cycle reached the required conditions. It does not replace cleaning, inspection, or proper packaging. It is the record that supports release decisions, investigations, and staff follow-up when something does not look right.
Mechanical Checks for Every Cycle
Time, temperature, pressure, cycle type, and printout or digital records should be reviewed according to facility policy. A finished cycle is not automatically an acceptable cycle. Wrong settings, early cancellation, steam supply problems, or unusual drying results need review before packs go to storage. See also: Implants.
Chemical Indicators in Packs and Loads
Chemical indicators show that certain sterilization conditions were present. They do not prove sterility on their own, but they help staff catch exposure problems. For sharp instruments, internal indicators are useful because the outside of a pack may show a change while the center of a dense tray may tell another story.
Biological Indicators for Routine Proof
Biological indicators test the sterilization process with resistant spores. CDC dental infection control guidance recommends biological monitoring of sterilizers at least weekly with a matching control. Many sterile processing programs also follow professional standards and local policy for more frequent testing, implant loads, and qualification after repair. If a biological indicator fails, affected loads need a defined response, not guesswork.
What Common Mistakes Damage Sharp Instruments or Create Risk?
Most failures are not dramatic. They usually come from rushing, crowded trays, poor lighting, skipped inspection, or a missing instruction sheet. Sharp tools leave less room for error because the same edge that helps a surgeon can also puncture packaging, injure staff, or hold debris.
Cleaning After Soil Has Dried
Dried blood and tissue are harder to remove, especially from serrations and joints. Once soil sets, staff may scrub harder, which can damage fine surfaces and still miss material inside a groove. Quick point-of-use care is usually easier and safer than heavy scrubbing later.
Ignoring Wear, Pitting, and Dull Edges
Sterilization does not repair a poor instrument. A dull scissor can crush tissue, a pitted forceps surface can hold residue, and a cracked handle can hide contamination. Inspection under good light, with magnification when needed, should pull damaged tools from service before they reach the sterile field.
Relying on Immediate-Use Sterilization Too Often
Immediate-use steam sterilization may be allowed in certain urgent situations, but it should not become the daily fix for low inventory or poor scheduling. The CDC describes special controls around immediate-use processes, including cycle exposure, aseptic transfer, and biological indicator use in certain settings. If your team uses immediate-use cycles often, the main problem may be instrument count, turnaround planning, or tray design.
How Should You Build a Better Routine for Sharp Instrument Care?
A good routine should be simple enough for a busy team to follow and firm enough to catch mistakes. Written procedures, staff training, and usable records matter more than a thick binder that stays on a shelf. The best setup makes the correct step easy to do every time.
Clear Workflows From Use to Storage
Map each stage: point-of-use treatment, transport, decontamination, inspection, assembly, packaging, sterilization, cooling, storage, and case cart picking. Keep clean and dirty paths separated so instruments do not cross back into the wrong area. Label repair items clearly, and store sterile packs where they are protected from moisture, dust, crushing, and handling damage.
Training Tied to Real Instruments
General training helps, but staff also need hands-on practice with the actual scissors, scalpels, rongeurs, elevators, and dental tools used in your facility. Show the points that are hard to clean. Show what a failed pouch seal looks like, and show the difference between a water spot and corrosion. Small visual lessons are often remembered during real work.
Records That Help You Act
Keep cycle records, load contents, indicator results, maintenance notes, and release decisions in a format staff can find quickly. If a sterilizer has a failed biological indicator, a wet-pack trend, or repeated aborted cycles, records help you trace affected instruments and stop the same issue from coming back. Public data does not give one reliable worldwide failure rate for sharp instruments sterilization across all settings because devices, cycles, reporting systems, and facility practices differ widely. That gap makes local records more useful for daily control.
- Follow the manufacturer’s instructions for each reusable sharp instrument.
- Keep soil moist or removed at point of use according to policy.
- Inspect cutting edges, hinges, serrations, ratchets, and tips before packaging.
- Use sterilization-compatible tip protection and packaging materials.
- Review mechanical, chemical, and biological monitoring results before release.
- Remove damaged, dull, stained, or pitted instruments from service for review.
FAQ
Q1: What Is the Best Method for Sharp Instruments Sterilization? A: Steam sterilization is commonly preferred for heat- and moisture-resistant critical instruments, according to CDC guidance. Use another validated method only when the device instructions call for it.
Q2: Can Sharp Instruments Be Sterilized Without Cleaning First? A: No. Cleaning must come first because dried tissue, blood, detergent residue, or debris can make sterilization less reliable. Sterilization cannot make up for poor cleaning.
Q3: How Often Should Sterilizers Be Biologically Monitored? A: CDC dental guidance recommends at least weekly biological monitoring with a matching control. Hospitals and surgical centers may use stricter schedules based on AAMI guidance, implant loads, device type, and local policy.
Q4: Why Do Sharp Instruments Puncture Sterile Packaging? A: Punctures often come from exposed tips, crowded trays, poor placement, heavy instruments shifting, or the wrong pouch size. Use compatible tip protectors and avoid overpacking.
Q5: When Should a Sharp Instrument Be Removed From Service? A: Remove it when you see pitting, cracks, rust-colored staining, dull cutting edges, loose joints, damaged insulation, or any defect that affects cleaning, sterilization, or clinical use.